In e-commerce, an image can say more than words. The brain processes images quickly, in just 13 milliseconds. That’s why it’s key for online sellers to use amazing Amazon product images. They not only show your product’s quality but also build trust1.
For your items to shine on Amazon, invest in professional product photos1. Buy a good camera, a tripod, and a light tent. It’ll boost the look of your product photography without a big cost2. Using a white background makes photos look sleek and pro, meeting Amazon’s needs21.
Varying your Amazon listing images is crucial. Use individual, group, lifestyle, scale, detailed, and packaging shots23. Amazon lets you add up to nine photos, but only the first seven (or six with a video) show at first. So, use this to your advantage. Include infographics to help buyers understand the product better31.
Use Amazon photo tips to your benefit. Make sure your main image fills 85% of the space. Keep the resolution high, at least 1,600 pixels on the longest side, to make your photos look sharp31. With the right gear and know-how, your product photography can truly impress people. This helps your brand do well on Amazon.
Key Takeaways
- High-quality product images are crucial for capturing customer attention and building trust in e-commerce.
- Investing in essential photography equipment can significantly improve product image quality without excessive costs.
- Utilizing a white background for the main product image enhances visual appeal and complies with Amazon’s requirements.
- Showcasing products through various types of shots, such as lifestyle and detailed photos, provides customers with a comprehensive understanding of the items.
- Following Amazon’s image guidelines and best practices, such as resolution and size requirements, can boost sales and reduce returns.
Why Product Photos Matter for Your Ecommerce Business
In the online shopping world, pictures of products are key. They give buyers the first glance at what you’re selling. Because people often judge a product by how it looks, quality photos are essential. They not only build trust but also make your business look professional. Investing in great photos can increase your sales.
The Impact of Product Images on Customer Perception
First looks are critical online, and your photos are often the first thing a shopper sees. A great image can grab their attention and show your brand in a good light. Studies reveal that our brains process pictures much faster than words4. It takes just 13 milliseconds for someone to get an idea about your brand’s quality from a photo5. This is why top-notch photography is so vital for leaving a good impression.
Your product photos also replace the sense of touch when buying online. They persuade 75% of buyers enough to affect their purchase decisions5. By showing your products clearly and attractively, you meet customers halfway. This helps them feel more confident about buying from you, even without physically seeing the items.
How High-Quality Photos Boost Sales and Reduce Returns
Good product photos don’t just change how people see your brand; they also boost your sales. Items with quality images sell a lot more – 94% better, in fact – than those without6. This shows that investing in professional photos is a smart way to get more customers to choose your products.
Better product pictures also mean fewer returns. When customers clearly see what they’re getting, they usually end up happier with their purchase. Still, 22% say they’ve sent things back because they didn’t match the photos5. Selling with honest and detailed photos can help lower these return numbers and the costs they bring.
For your photos to have the biggest effect, mix it up. Try different types like photos of your products in use or shot by customers. Variety not only improves how people understand your products but also makes them more engaging. And that can turn more browsers into buyers5.
In the end, your product photos are as important as the text in your listings, maybe more. They shape how shoppers see your brand, trust it, and decide to buy from it. Good photos, therefore, are a central part of offering a great online shopping experience. They make your products look like a must-have and keep customers coming back for more.
Types of Product Photography to Showcase Your Items
When you want to show your products online, you have many options. These photo styles can make your products look great and catch the eye of shoppers. By using a mix of these, you can make your online store more attractive. Now, let’s talk about the types of product photos and how they help your business.
Individual Shots: Highlighting a Single Product
Individual shots are also called hero shots. They focus on one item, usually on a clean background. These are important for your product catalog and website. They give a close and clear look at the product. High-quality individual shots can really boost your sales, with 90% of online buyers saying good images help them decide7.
Group Shots: Displaying Product Collections and Kits
Group shots work well for showing many products together, like a set or kit. This helps show the value and how the products go together. It can make people think about buying more than one.
Lifestyle Shots: Showcasing Products in Action
Lifestyle shots put your products in real-life scenes. They help people see themselves using the products. This can lead to more sales because it makes an emotional connection. Even though these photos can be expensive, they are great for showing how a product fits into life8.
Scale Shots: Helping Customers Gauge Product Size
Scale shots show how big or small a product is by comparing it to something familiar like a coin. This helps customers pick the right size. For big items like cars, furniture, or houses, showing the scale is really important7.
Detailed Shots: Capturing Intricate Product Features
Detail shots focus on the little details and textures of products. They are great for products with unique features. Premium clothing and jewelry stores use these to show the quality. They help in justifying the price and building trust with customers7.
Packaging Shots: Giving Customers a Complete Brand Experience
Packaging shots show the product with its packaging. They give a glimpse of the full brand experience. In a world full of images, showing unique packaging is key. It helps your brand stand out and be remembered79.
| Photography Type | Purpose | Key Benefits |
|---|---|---|
| Individual Shots | Showcase a single product | Clear, detailed view; essential for product catalogs and pages |
| Group Shots | Display product collections and kits | Communicate value and versatility; encourage additional purchases |
| Lifestyle Shots | Show products in real-life contexts | Create emotional connection; showcase how products fit into daily life |
| Scale Shots | Provide visual reference for product size | Help customers make informed decisions; crucial for large products |
| Detailed Shots | Capture intricate product features | Showcase quality and craftsmanship; justify higher price points |
| Packaging Shots | Feature product with branded packaging | Reinforce brand identity; create cohesive and memorable presence |
Use these different types of photos to boost your online store. Remember, great photos are more important than long descriptions to many customers, with 63% agreeing8.
Essential Equipment for DIY Product Photography
The right gear is key in DIY product photography. It ensures you capture your items in the best way. Why is this important? 93% of customers rely heavily on what they see before buying10.

Start with a good camera. You don’t need a pro one, luckily. A quality option can be yours for $300 to $50010. The Canon EOS T3 is a solid choice at $45011. If you’re going top-notch, consider the Nikon D610 for about $1,90011.
A tripod is a must-have for clear, sharp shots. You can get a good one for $20, like the Ravelli APLT2. This helps keep your photos from looking shaky1011.
For a clean photo background, think about a white backdrop or a lightbox. You can pick up a white muslin backdrop for $20. Lightboxes help spread light evenly on your item10. Don’t forget foam boards; they bounce light well. The Neewer 43 Inch Light Reflector is a top pick for this
Lighting is crucial too. Natural light works, but you might need LED lights instead. They vary from $20 to $20010. For natural light, place your item by a window at a 45-degree angle for an interesting look10.
Don’t overlook these items either:
- Memory cards with at least 8GB of space for storing your product images10
- A sturdy table or flat surface for creating an even base for your products, which can be found at budget-friendly prices at furniture stores10
- Tape or clips to keep your background and products in place
| Equipment | Purpose | Recommended Options |
|---|---|---|
| Camera | Capturing high-quality product images | Canon EOS T3 ($450), Nikon D610 ($1,900) |
| Tripod | Keeping shots steady and blur-free | Ravelli APLT2 ($20) |
| Backdrop | Creating a seamless background | White muslin backdrop ($20), Lightbox |
| Reflectors | Enhancing light quality and reducing shadows | Neewer 43 Inch/110 Centimeter Light Reflector 5-in-1, Foam boards |
| Lighting | Illuminating products for optimal visibility | Natural light (free), LED lights ($20-$200) |
Invest in these equipment essentials to boost your online shop. You’ll take awesome photos that draw in customers.
Setting Up Your Product Photography Studio
It’s vital to have a spot just for taking photos of your products. This space should be well thought out. Put in some key items. Then, you’ll have a studio that makes your product pics look amazing. Good photos can boost sales and interest from your buyers12.

Choosing the Right Background for Your Products
Selecting the right background is crucial in product photography. Many choose a white background because it’s simple and focuses on the product13. It’s also inexpensive; you can get white poster boards for about $7 for 10 sheets14.
Also, use foam boards as bounce cards. They reduce strong shadows and even out the light. You can get them on Amazon or in local stores14.
Positioning Your Products for Optimal Shots
After setting up your background, it’s time to position your products. Start by placing the product in front of the backdrop. Make sure it’s in the middle and on something level. A solid folding table that’s 24 to 27 inches wide works well14.
To secure your products during the shoot, try glue dots, tape, or stands. This keeps them in place while you work on lighting or angles. For smaller items, a mannequin or flatlay can show off details well13.
When taking a photo, aim for at least 85% product coverage. This ensures the product stands out. Try various angles like eye-level or high view. Play with different positions to fully present the product13.
Position your products well and vary your shots for a selection of top-notch images. With a smart plan and list of shots, your product images will draw people in and enhance their shopping experience12.
Lighting Techniques for Stunning Product Images
When it comes to making product photos pop, lighting is key. The right light can improve how your products look and feel. By knowing how to use light in product photography, you grab attention and show your products and brand well.
Natural Lighting: Harnessing the Power of the Sun
If you’re just starting or have a tight budget, natural light works well. It’s great for photos showing real life or taken outside15. Remember, sunlight changes color from blue to yellow throughout the day16.
Place your photo spot by a sunny window. If the light is too strong, use a sheer curtain to soften it. This avoids harsh shadows on your products.
Artificial Lighting: Achieving Consistency and Control
When natural light isn’t enough, artificial light steps in. Tools like softbox lights let you control the light for great photos in any place15.
Use two softbox lights to reduce shadows. The key light goes in front to show details. A second light from above or behind adds depth. Reflector boards can also brighten shadows on your product16.
Start with LED lights for ease. They’re cool and mimic sunlight16. For stable lighting, go for two 100-watt bulbs16.
Once comfortable, adjust light power, color, and angle for different effects. Use tools like diffusers and reflectors to refine the light on your product16.
Conversions for eyewear brand Peepers improved by 30% when they enhanced their product images, demonstrating the significant impact of quality visuals on sales17.
Learning about both natural and artificial light boosts your photo skills. Good product photos make a big difference in online sales. So, take time to create top-notch images for your e-commerce success15.
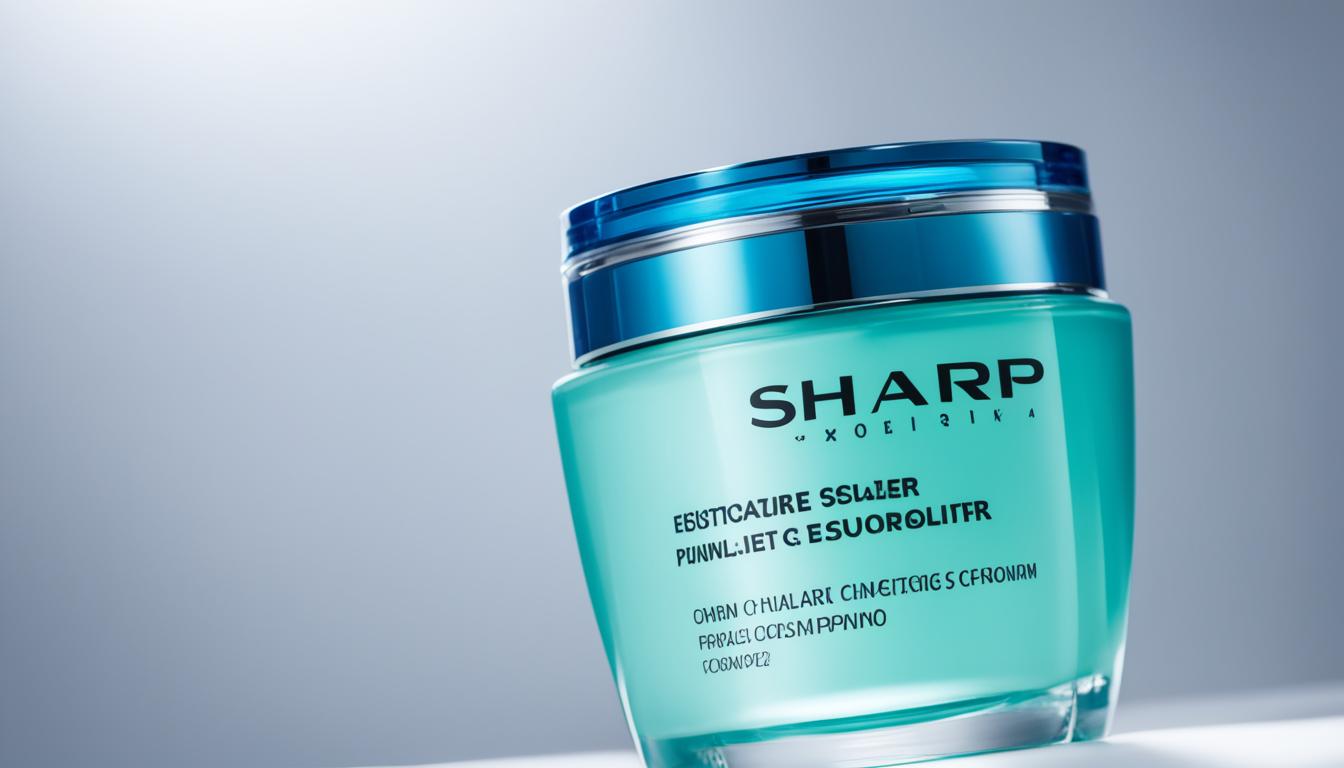
Amazon Product Images: Best Practices for Success
Selling on Amazon means using high-quality images to grab buyers’ attention. With millions of customers and products18, it’s crucial to meet Amazon’s image rules and tips.
Amazon insists on 1,000-pixel images at least. The product has to take up 85% of the frame to avoid being blurry19. For the best results, aim for images over 1,600 pixels with a 72 dpi resolution20. Your photos should be saved in TIFF, JPEG, GIF, or PNG. Among these, Amazon prefers JPEG20.
When making your Amazon images, try showing off the important parts. Put the product in front against a white background. Use great lighting and try various angles for up to 9 photos. But, remember, only 7 will show up directly on the listing page18.
Each product must have at least one photo. But it’s better to have six images and a video too20. Lifestyle images can make a big difference. They show off how enjoyable and useful the product is for customers18.
Not being able to touch and see the products is a downside of online shopping for many. So, clear and detailed images are key to winning over customers19.
“The human brain can process a picture in 13 milliseconds.”18
When you edit photos, work on the brightness and colors. Get rid of any extra background. A good camera, tripod, and lights can make a big difference19. Shooting in RAW format keeps details in your photos even after editing19.
Choosing the right lighting is vital. It helps show your product clearly and builds trust with customers19. Pick background colors that make your product pop, like black or grey19.
Stick to Amazon’s image guidelines for quality photos. Remember, online shoppers decide fast. Your images need to be both eye-catching and informative in less than 8 seconds18.
Conclusion
Great product images are key to doing well in online sales. They greatly affect how buyers see your items and choose what to buy. Studies show people understand an image in just 13ms, which is much quicker than reading. Plus, 75% of people making purchases online put a lot of trust in good product photos2122.
So, to make your items stand out, it’s wise to invest in quality photo gear and create a nice setup. You should also learn about lighting and use it well. This way, your products will look their very best in photos.
On Amazon, following their image rules is crucial for grabbing customer attention and boosting sales. You can add up to eight extra images for each item, but only the first seven show up on mobile. High-quality photos have been linked to more sales, with the main image being most important2123.
Amazon requires your main image to have a white background and include certain details in the file name. By sticking to their advice, you can make your products more eye-catching. This can lead to more clicks and sales22.
Don’t forget to mix it up with different types of photos, like showing how the item looks in real life or its close-up details. Yet, it’s important to keep in mind that Amazon doesn’t like lifestyle photos as the main one. By using the tips we’ve discussed and keeping on top of what Amazon recommends, you can boost your online store’s success. This is how you can play and win in the online market.
Source Links
- Amazon Product Images Requirements & Best Practices
- 6 tips for taking product photos in 2024 – Sell on Amazon
- Amazon Product Photography Guide: Best Practices in 2024
- Amazon Product Image Requirements and Best Practices | Trellis
- A Guide To Ecommerce Product Images (+ 10 Tactics To Improve Yours)
- The Importance of Product Photography in E-commerce Sales | Salestio Blog — connect e-commerce with Amazon, eBay, Etsy
- 20 Types of Product Photography Your Online Business Needs To Know [’22 update]
- 5 Types of Amazon Product Photos You Need Right Now | Kenji ROI
- 16 Different Types of Product Photography + AI Solution
- Simple Product Photography Setup On a Budget (7 Essentials)
- 11 Product Photography Tools for Your Ecommerce Images (2023) – Shopify
- Ultimate Guide to Amazon Product Photography in 2024
- How to Master Phone Product Photography (2024) – Shopify
- Product Photography: Craft a Perfect Setup in 2024 – Shopify
- Must-Follow Product Photography Tips (Tools + Your Options) | BigCommerce
- How to get a Perfect White Background in Product Photography
- 15 Product Photography Tips to Capture Better Images
- Amazon Image Guidelines and 7 Best Practices for Product Photography
- Amazon images: everything you need to know in 2024
- Image Quality on Amazon: What You Need to Be Compliant and Drive Sales
- Amazon Product Image Requirements: The Ultimate Guide | Perpetua
- The correct order to put your Amazon listing images that grabs more customer attention
- The best Amazon Image – Guidelines and Best Practices in 2024